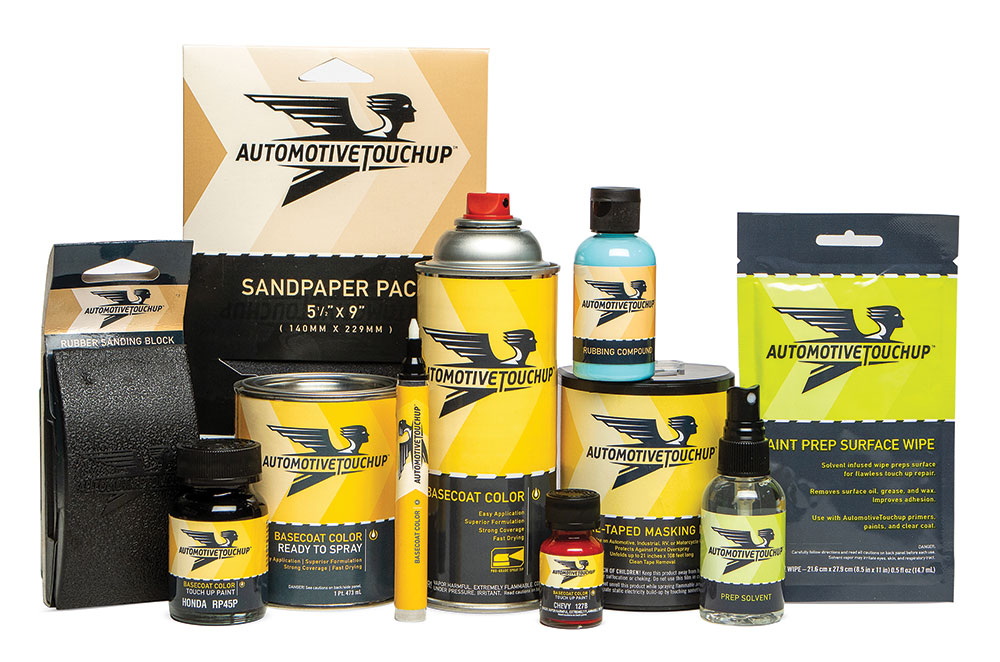
DIY Guide: Using Automotive Touch-Up Paint from a Spray Can
Whether you have minor scratches or larger areas that need attention, using automotive touch-up paint from a spray can can bring your vehicle back to life. This guide will walk you through the entire process, including sanding, priming, painting, and buffing to achieve a professional finish.
Tools and Materials Needed
Automotive touch-up spray paint (matching your car color)
Primer spray can (if needed)
Clear coat spray can
Sandpaper (320, 600, and 1500 grit)
Masking tape
Masking paper or plastic
Clean cloths
Rubbing compound
Polishing compound
Spray bottle with water
Safety glasses and mask
Step-by-Step Process
1. Preparation
Choose the Right Location: Work in a well-ventilated, dust-free area. Avoid direct sunlight and extreme temperatures.
Clean the Area: Wash the area around the scratch or damage to remove dirt and debris. Dry thoroughly.
Mask Off Surrounding Areas: Use masking tape and paper/plastic to protect areas you don’t want to paint.
2. Sanding
Sand the Damaged Area: Use 320-grit sandpaper to gently sand the damaged area. Feather the edges to create a smooth transition to the original paint.
Smooth the Surface: Switch to 600-grit sandpaper to smooth out the area further. Make sure there are no rough edges.
Clean the Surface: Wipe the sanded area with a clean cloth to remove dust.
3. Priming (if needed)
Apply Primer: Shake the primer can well. Hold it about 6-8 inches away from the surface and apply a light coat.
Let it Dry: Allow the primer to dry completely (refer to the can for drying times).
Sand the Primer: Use 600-grit sandpaper to lightly sand the primer once it’s dry, creating a smooth surface.
4. Painting the Base
Apply Base Coat: Shake the color paint can thoroughly. Hold it 6-8 inches from the surface and spray in light, even coats. Start with a light coat to prevent runs.
Build Up Layers: Allow each coat to dry (usually about 15-30 minutes) before applying the next. Repeat until you achieve full coverage.
Final Drying: Let the base coat dry completely (consult the can for specific times).
5. Applying Clear Coat
Spray Clear Coat: Shake the clear coat can and apply it in the same manner as the base coat, with light, even layers.
Drying Time: Allow each coat to dry, applying 2-3 coats for a glossy finish. Follow the manufacturer’s instructions for final drying time.
6. Wet Sanding the Clear Coat
Prepare for Wet Sanding: Once the clear coat is fully dry (typically 24 hours), wet sand the surface using 1500-grit sandpaper. Soak the sandpaper and keep the area wet while sanding.
Sand Evenly: Gently sand the clear coat to remove imperfections and orange peel texture. Be careful not to sand through the clear coat to the base layer.
7. Buffing
Clean the Area: Wipe the surface with a clean cloth to remove any sanding residue.
Apply Rubbing Compound: Use a foam pad or soft cloth to apply rubbing compound. Buff in a circular motion until the surface becomes shiny.
Polish: Follow with a polishing compound to enhance the shine further. Buff until you achieve a smooth, glossy finish
.
Conclusion
Using automotive touch-up paint from a spray can can effectively restore your vehicle’s appearance. By following these steps—sanding, priming, painting, clear coating, wet sanding, and buffing—you can achieve a professional-looking finish. Always remember to take your time and work in a clean environment for the best results. Happy painting! 🚗✨

